

Upon decorating our Christmas tree a few weeks ago my family realized that we had thrown away our beloved tree topper last year because it was--well, old!
I thought to myself "Oh, Pinterest will have so many tree toppers!"
WRONG.
The only one I could find was THIS one and, let me tell you, it was super flimsy.
So, I decided to improvise with what we had in our home! We are big JCP shoppers as of late in my family and I just love what the rebranding has done for the store! When my mom and sister stopped by on Black Friday to check out deals, they were handed a few cute, tiny holiday buttons with codes on the back. You could enter up to two codes a day (per email) and would win prizes. Pretty simple!
So, they came home and we entered six button codes that day. Sure enough, we won $5, $10, and $25 giftcards! The buttons were cute and we were getting free money to shop--could anything be better!? We decided to make some fun with it each time we were at/ by the mall, stop in to JCP and pick up a few buttons.

Last week, I counted that we have 103 buttons! Crazy! I've been saying all along I wanted to craft with them but wasn't sure just what to make. Then it hit me--a tree topper!

Here are the supplies:
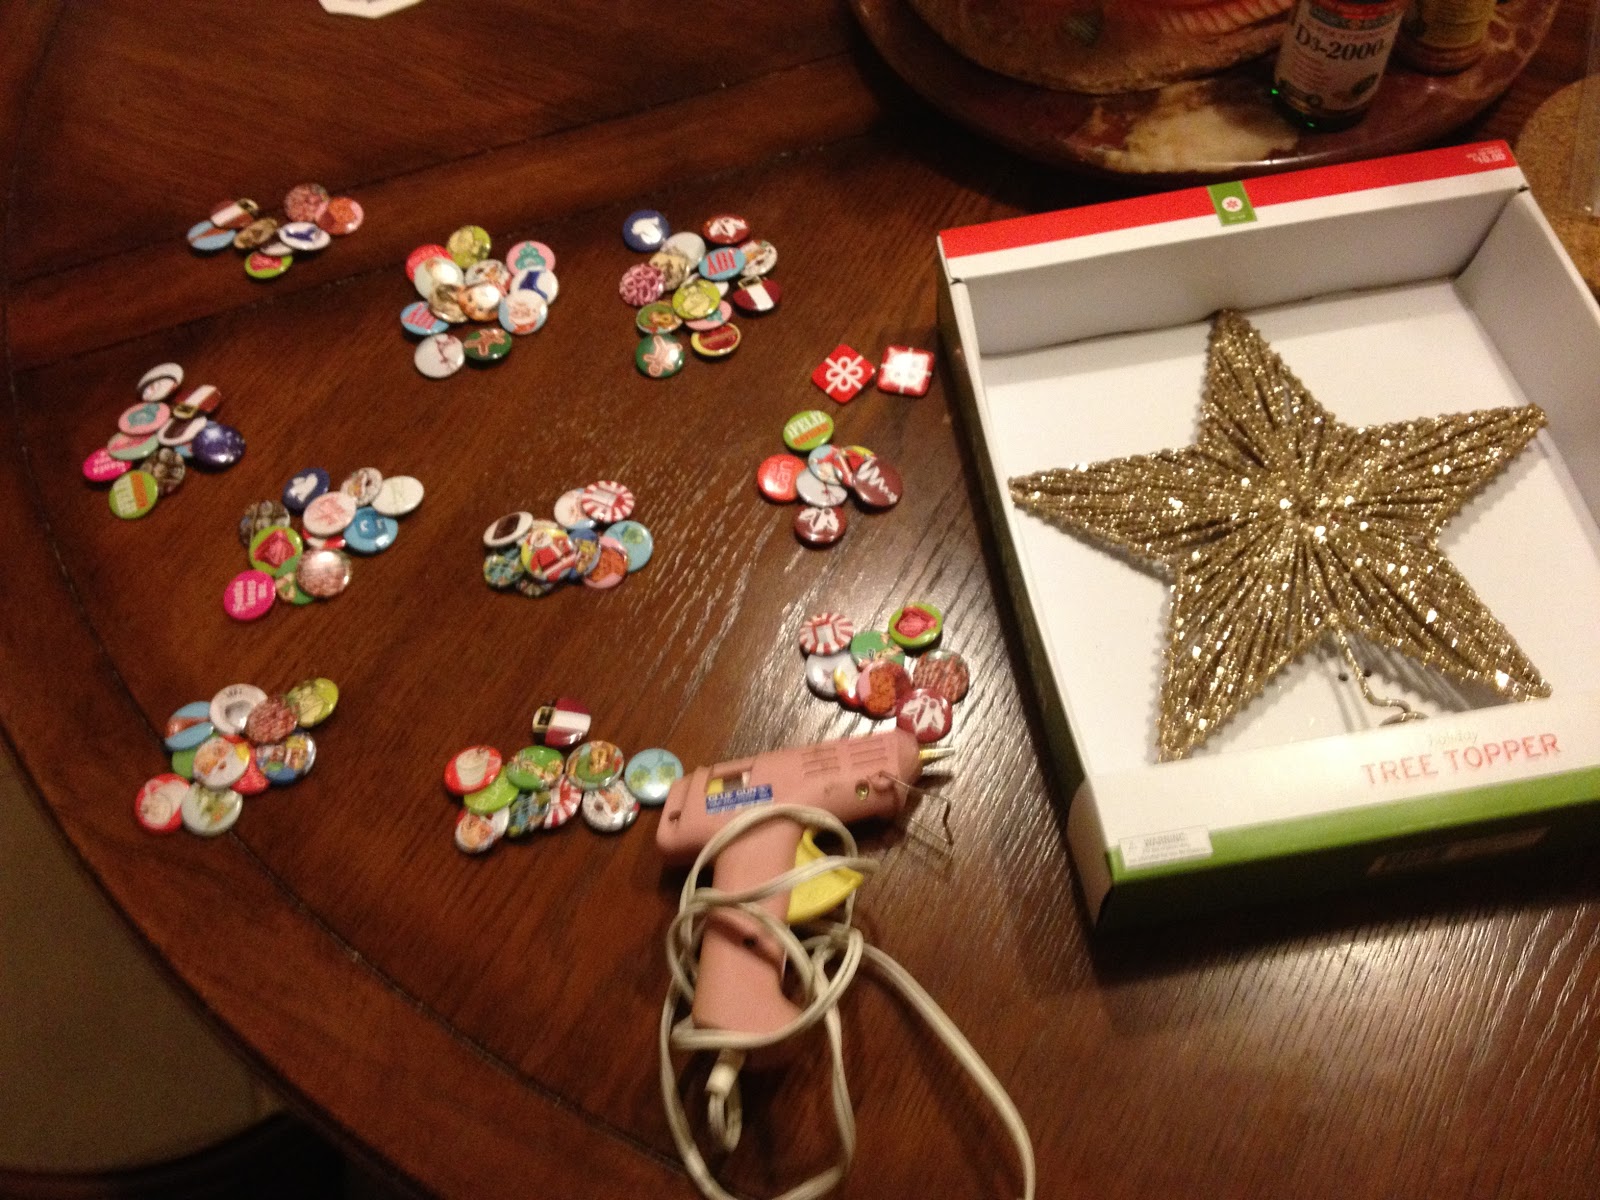
I bought a basic star tree topper from Target, and used the buttons and glue gun I already had! I picked a star with a base color that I liked because I knew it would peak through in some areas. You could even spray paint a star to be a favorite color.
Note: People are actually selling packs of 100 of these buttons on ebay. Just saying.

I first sorted the buttons into little piles with image and color variety. I found this to be a lot easier than picking from a larger pile when putting the patterns together.

Once the glue gun was hot, I opened the clasp on the back of the buttons and put a dollop of hot glue in the middle. Then I carefully put the buttons in place by weaving the latch through the wires that made up the base star. Then, I simply pressed down to let the glue dry, which held the button in place.

I started with one of the horizontal points and, more or less, outlined the point to make a pie shape. I found myself bending some of the latches in order to keep the the buttons on the direction desired.

I did this until I had finished a point! Voila!

Then, I continued tracing around the edges, outlining each point and then filling it in.

Once all of the points were filled, I put the present button in the middle (the only square button!) and filled in the gaps! Now, Your first side is done!!

Now, repeat the process on the other side! Just make sure to avoid poking yourself with any latches that may have stuck through!
Then, you are done!
This project took me just short of two hours to complete.

I love all of the colors reflected in the buttons! My favorite button has to be one of the vintage ornaments! Do you spot any that you just love?

Today's Pickins:
Using what you have, i love it!
ReplyDelete& those buttons...i love them, so flipping cute!
OK, this is awesome. I wonder if you could get buttons made with pictures on them and really make it personal!
ReplyDeleteI love Kelseys idea of getting pins with pictures. This is really awesome!
ReplyDeleteI seriously LOVE IT!!! How fun and cute!
ReplyDeleteSuch a cute Idea!!! Love it. <3
ReplyDeleteThis turned out so cute! I love those buttons.
ReplyDeleteThis is the cutest thing ever! I love it!
ReplyDeleteI LOVE this!! I bet it looks great on top of your tree.
ReplyDeletehow cute!! this turned out great!!
ReplyDeleteThat is so cute and different! Never seen anything like it :)
ReplyDeleteHere from SPD linkup :)
Cute! I love that red square pin that looks like a present!
ReplyDeleteHow fun :) I love how colorful an different it was. Great job, girlie!
ReplyDeleteThis is adorable! I love this idea--never seen it before!
ReplyDelete~Tiffany
http://tiffanyd22.blogspot.com
this is just too precious! love the button star, looks so unique and vintage-y.
ReplyDeleteSo I'm impressed with your craft skills but I'm just REALLY impressed that you collected over 100 buttons. THAT is a feat I could NEVER do. hahaha But the star is ADORABLE
ReplyDeleteSo cute and genius!! I have been searching high and low for a tree topper I like to no avail! I finally just made a bow this year and went with that.
ReplyDelete