Showing posts with label saw it. pinned it. did it.. Show all posts

Thursday, January 24, 2013

Saw It. Pinned It. Did It. {Filtered It!}

There is one pin out there that has been taking the pinterest world by storm recently...


Last night, I decided to play with two of the apps she suggested--Camera+ and Snapseed.
I already have camera+ on my phone and use it when I remember. I'll point out the different that makes in a moment.


Here are my before and after photos:


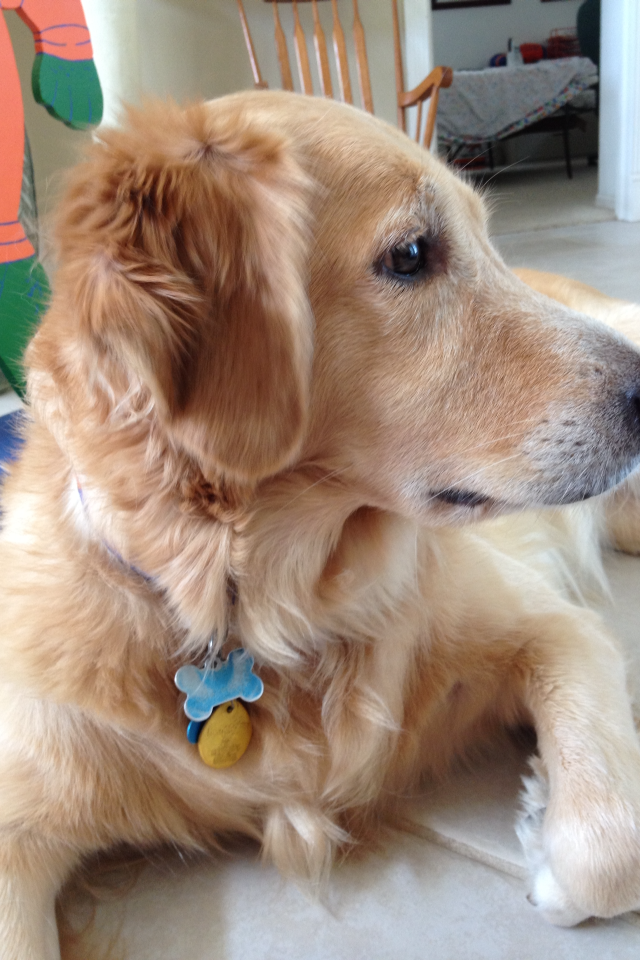
This image was taken with camera+ only.  It was much easier to snap a squirmy target with this app and adjust the lighting. Normally, I'd be decently happy with this photo.


However, I wanted Brantley to look a little more angelic. She is a sweet little baby that loves sitting in the foyer where there is a lot of sun. This edit using snapseed highlights that.


I think this pin was spot on and there is a big difference between these photos and some of the others I have taken of Brantley. I definitely plan to use these tips and tricks more and more and would highly reccomend checking out the pin. 


Thursday, January 17, 2013

Saw It. Pinned It. Did It. Drank It!

I have been waiting all week to link up to Saw It. Pinned It. Did It. And I am so excited to share the pinspiration with you!


Many moons ago, I pinned THIS link to the DIY for my favorite Starbucks treat—A Passion Tea Lemonade!
I was fortunate enough to do some puppysitting over the weekend and used my free, down time to try the project out.


As the directions stated, all I bought was TAZO Passion Tea teabags, Lemonade (I bought the 15 cal bottle) and sugar (I used TRUVIA)!


I decided to make a half batch instead of a full batch, so I pulled out 10 tea bags and put half a gallon of water in a pot.


As the water was heating up, I added in my truvia (this was in lieu of making simple syrup) and let the water come to a boil.


While I was waiting for the water to boil, I opened up the 10 tea bags and put them at the bottom of the pitcher. Simple stuff.


Once the water began to boil, I took it off of the stove and poured it into the pitcher, drenching the tea bags! I let it sit this way for the next 5-7 minutes.


Then, just as the pinspiration suggested, I removed each tea bag, one at a time, squeezing every last drop out of each bag!


Then, I happened to be lucky enough to have an empty shelf in the freezer and put the pitcher in the freezer to cool! This made the cooling process a little shorter but it still took over an hour!


Finally, time to take it out! I made my first glass by pouring passion tea into my glass to fill about half the glass. I then added lemonade so that the ratio would be 4 parts PT for 1 part Lemonade. Finally, I poured both  into a shaker with ice cubes (and extra half packet of truvia) and shook it up, just like a barista! I then filled my glass part way with ice and poured my drink back in. Voila!


I thought it tasted fabulous and may have made another glass (or two) over the course of the day. As silly as it sounds, mixing the contents in the shakers does make a HUGE difference. I tried it once without and it just wasn’t as good!


The best part about this project? I have been able to take the drink with me on my way to work each morning this week!  I finally finished the first pitcher this morning, meaning I got about eight to nine 24oz. Tervis cups out of it! I still have half of my lemonade and another ten tea bags to use.


The total project was under $6, about the price of two of these babies (in a grande) at Starbucks! To say I am pleased with the results might just be an understatement!


Thursday, January 10, 2013

Saw It. Pinned It. Did It. {Nailed It}

Yes, the title is a cheesy pun.

No, I am not sorry about it. 

But I am excited to be linking up again today! 


I often find myself lusting after the cute, trendy nail designs of pinterest and just never seem to pull them off. I feel like I am missing a step in the details or something because my project never turns out the way I had hoped. 


Upon a tidbit from a random lady at Target, I decided to give it one last try!

I pinned and pinned and drew some inspiration from these posts:


and


I basically combined all of the ideas into one and decided to use tape to create a glittered, reverse manicure in a triangle shape. 

I promise, it sounds much more complicated than it is. 

First, I picked out two colors that I liked together-- Essie's Case Study as the base color and Sally Hansen's Strobe Light for the manicure. 


Next, I painted the base color and let it dry. This didn't take too long.

Here's the secret:

I then used WASHI TAPE to create the triangle design at the nail beds.  Once the tape was pressed down, I simple stroked a few coats of the glitter polish until I was satisfied! I then pealed the tape off, let the glitter finish drying, and applied a top coat! 

The washi tape is the secret in all of this. The tape seals enough to keep the nail polish from bleed onto the base color but is light enough that it does not pull away the base color when it is removed.


Genius.


You may have seen the end result on Instagram:


And here is another shot of the final product!


I really like these colors together and I think it keeps the nail design fun and more mature than some of the other designs I see! 


Have you ever tried washi tape when painting you nails?


Today's Pickins:
1.  Acrylic Jewelry Stands for your organized New Year
2.  Block Letter Bookends-would be cute with initials


Thursday, December 20, 2012

Saw It. Pinned It (literally). Did It.


Upon decorating our Christmas tree a few weeks ago my family realized that we had thrown away our beloved tree topper last year because it was--well, old!

I thought to myself "Oh, Pinterest will have so many tree toppers!"

WRONG.

The only one I could find was THIS one and, let me tell you, it was super flimsy.


So, I decided to improvise with what we had in our home! We are big JCP shoppers as of late in my family and I just love what the rebranding has done for the store! When my mom and sister stopped by on Black Friday to check out deals, they were handed a few cute, tiny holiday buttons with codes on the back. You could enter up to two codes a day (per email) and would win prizes. Pretty simple!

So, they came home and we entered six button codes that day. Sure enough, we won  $5, $10, and $25 giftcards! The buttons were cute and we were getting free money to shop--could anything be better!? We decided to make some fun with it each time we were at/ by the mall, stop in to JCP and pick up a few buttons.


Last week, I counted that we have 103 buttons! Crazy! I've been saying all along I wanted to craft with them but wasn't sure just what to make. Then it hit me--a tree topper!


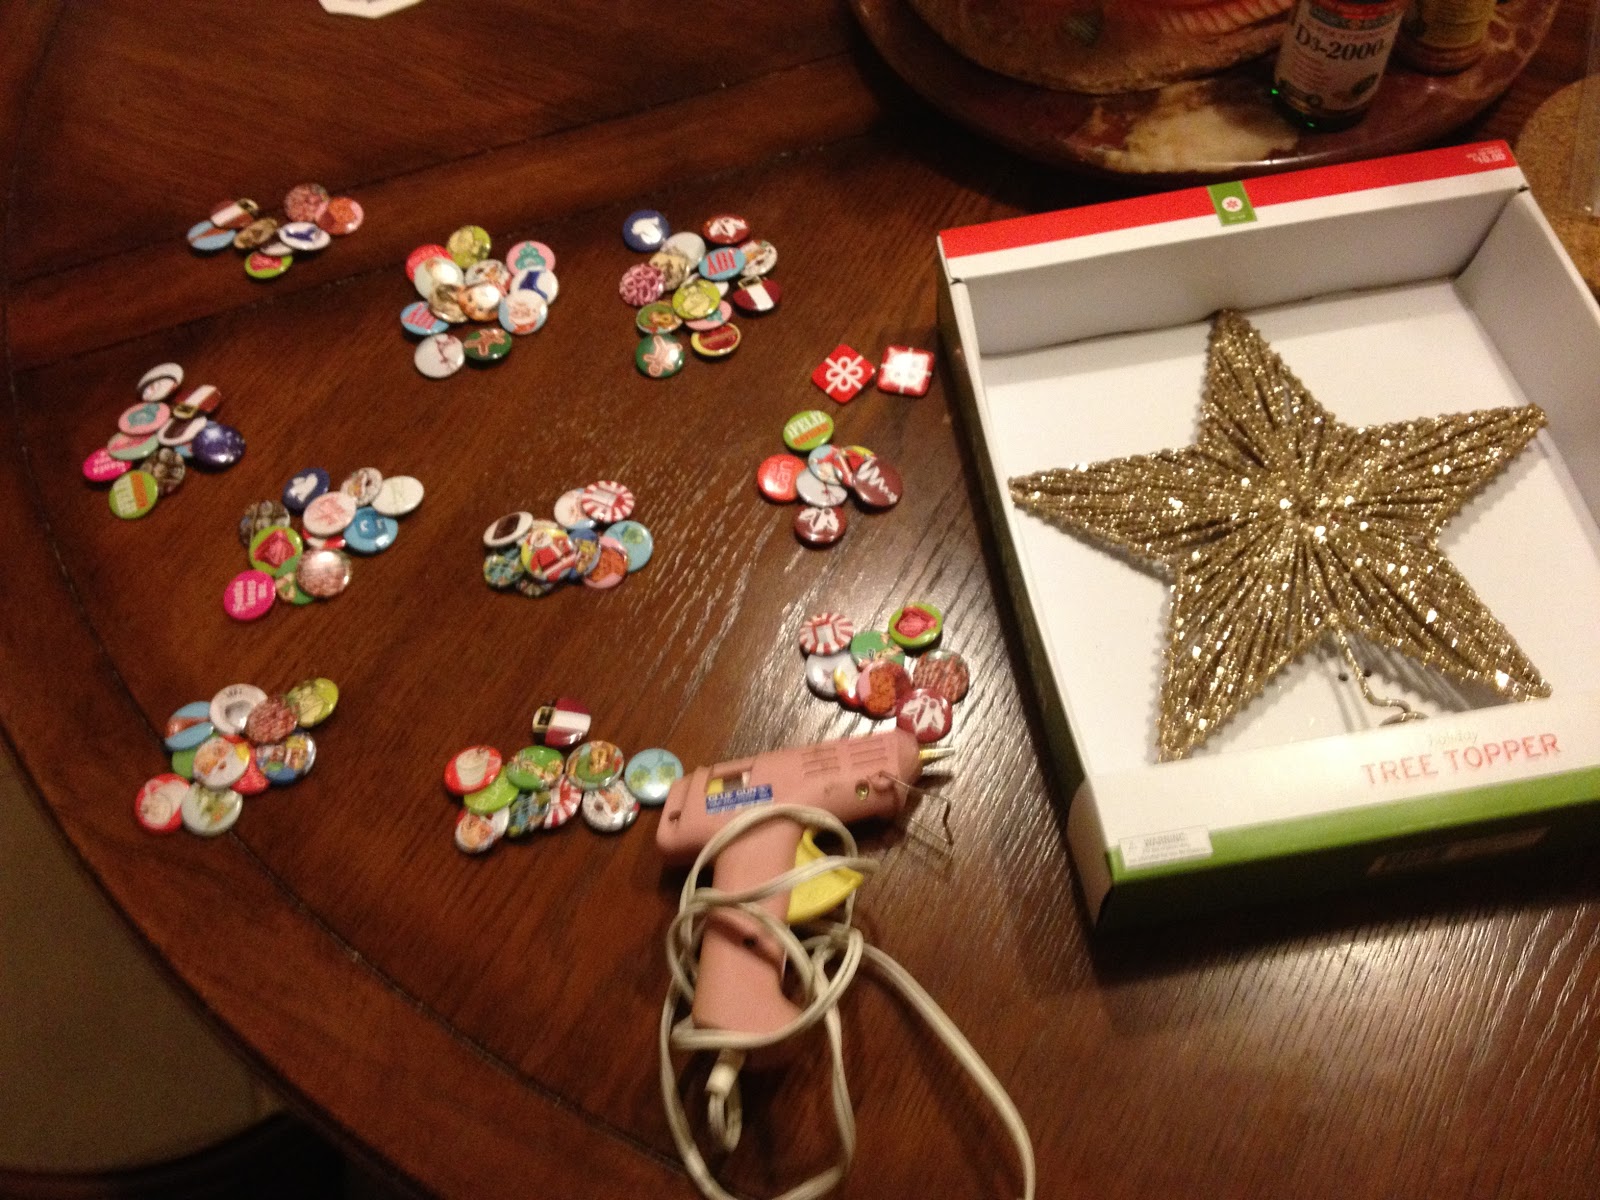
Here are the supplies:


I bought a basic star tree topper from Target, and used the buttons and glue gun I already had! I picked a star with a base color that  I liked because I knew it would peak through in some areas. You could even spray paint a star to be a favorite color.

Note: People are actually selling packs of 100 of these buttons on ebay. Just saying.


I first sorted the buttons into little piles with image and color variety. I found this to be a lot easier than picking from a larger pile when putting the patterns together.


Once the glue gun was hot, I opened the clasp on the back of the buttons and put a dollop of hot glue in the middle. Then I carefully put the buttons in place by weaving the latch through the wires that made up the base star. Then, I simply pressed down to let the glue dry, which held the button in place. 


 I started with one of the horizontal points and, more or less, outlined the point to make a pie shape. I found myself bending some of the latches in order to keep the the buttons on the direction desired.


 I did this until I had finished a point! Voila!


Then, I continued tracing around the edges, outlining each point and then filling it in.


 Once all of the points were filled, I put the present button in the middle (the only square button!) and filled in the gaps! Now, Your first side is done!! 


Now, repeat the process on the other side! Just make sure to avoid poking yourself with any latches that may have stuck through!


Then, you are done! 

This project took me just short of two hours to complete.


I love all of the colors reflected in the buttons! My favorite button has to be one of the vintage ornaments! Do you spot any that you just love?


Today's Pickins:

Thursday, December 13, 2012

Saw It. Pinned It. Did It. TWICE!

In case you didn't guess by the title, this is a two-for-one post today! Can I get a woop woop?!


My first SPD was the Kiss Pies recipe!


I ran into issues right away with this one. When I went to the grocery store to get the ingredients, they only had regular kisses, not the mint ones (and the recipe had my heart set on mint!)!!  So, I decided to buy the dove chocolate mints and experiment that way.


I followed the directions from the pin, which were VERY simple! To make the circles, I used the opening of a cup like a cookie cutter.


I did change up the egg whites for a mixture of half butter half water that worked just as well.  I also used Truvia instead of sugar. I ended up liking this because Truvia is very coarse.


I baked at 350 degrees for 24 minutes.

Let them cool...


...and enjoy!


The Verdict: I'd give them a 7.5. The warm ones (when the chocolate was still melted) were much better and I think the cookie could have used more sugar. I think I will put the sugar coating on the pie crust BEFORE making the wonton shapes next time to spread the sugar out more evenly. 


My second pin/ SPD was inspired by J's Everyday Fashion!


I decided to mostly copy the middle look, but opted for cowboy boots instead of ankle booties, since I've worn my ankle booties twice this week, already.

{Sorry for the TERRIBLE lighting! This photo was snapped at 6:30 AM so we just used the overhead lighting in the foyer.}


Have you tried any pinterest projects recently?


Today's Pickins:


Thursday, December 6, 2012

Saw It. Pinned It. Did It. {DIY: Vickers' Bow Bracelet}

FYI: Today's the LAST DAY to enter the giveaway! It ends at midnight! 


So today's SPD {my new abbreviation for this} is a mash of something I liked and essentially created my own tutorial for. Hopefully you enjoy it as much as I have! 


The Vickers' Bow Bracelets from KJP premiered not too long ago and have been a preppy staple since. 


These puppies have been blowing up style boards across pinterest so I decided to try my hand at a DIY version of this.

I also happened to wander into Michael's this past Saturday  where all holiday ribbon was 70% off--and I couldn't resist all of the tartan patterns! I figured for the low price, it was worth the random DIY! After all, spur of the moment crafting seems to be when I do my best work!


Isn't is pretty!! Here is how I did it!


Disclaimer: I decided to use elastic instead of chain/ hooks because that was what I already had. Besides the supplies shown, I also have my own sewing machine. Because the only thing I had to buy was the ribbon, I spent a grand total of UNDER $2! 


First, I cut a strip of the ribbon this size of my wrist. The ribbon had wire in it, so I made sure to pull the wire strands out before moving to the next steps.


I then turned the ribbon inside out and pinned down flat. 


I sewed along the red line and when I was done, flipped the ribbon back from inside out to the right side. 


I then made a fabric bow with another piece of ribbon that I cut. If you are unsure how to make a fabric bow, check out this great tutorial HERE.


This part needs to be sewn by hand and not with a machine.


I then attached the bow to the middle of the "band" that we made before. I also sewed this by hand.


Lastly I attached the elastic. When the elastic is not stretched, the two ends of the band meet. However, they pull apart to reveal the elastic, which also allows you to slip the bracelet on and off of your hand!


There you have it, kittens! The whole project took me about 30 minutes, too! 

Let me know if you decide to try this DIY--I'd love to see how yours turns out! 


Today's Pickins: