I saw
this pin a while ago And thought it would be a great inspiration for a VERY old wooden chair I have been using as a desk chair.
{Let me just warn you now, this is a project that you need to start on a Saturday morning and plan on coming back and forth to between coats and layers over the two days of the weekend.}
I had the colors I wanted, a chair, painters tape, and mod podge on hand, so I didn't need to buy anything!
The first thing I did was sand down my chair to remove old paint sealers and such.
This part was tedious and I went through a full sheet of sandpaper and could've probably done some more.
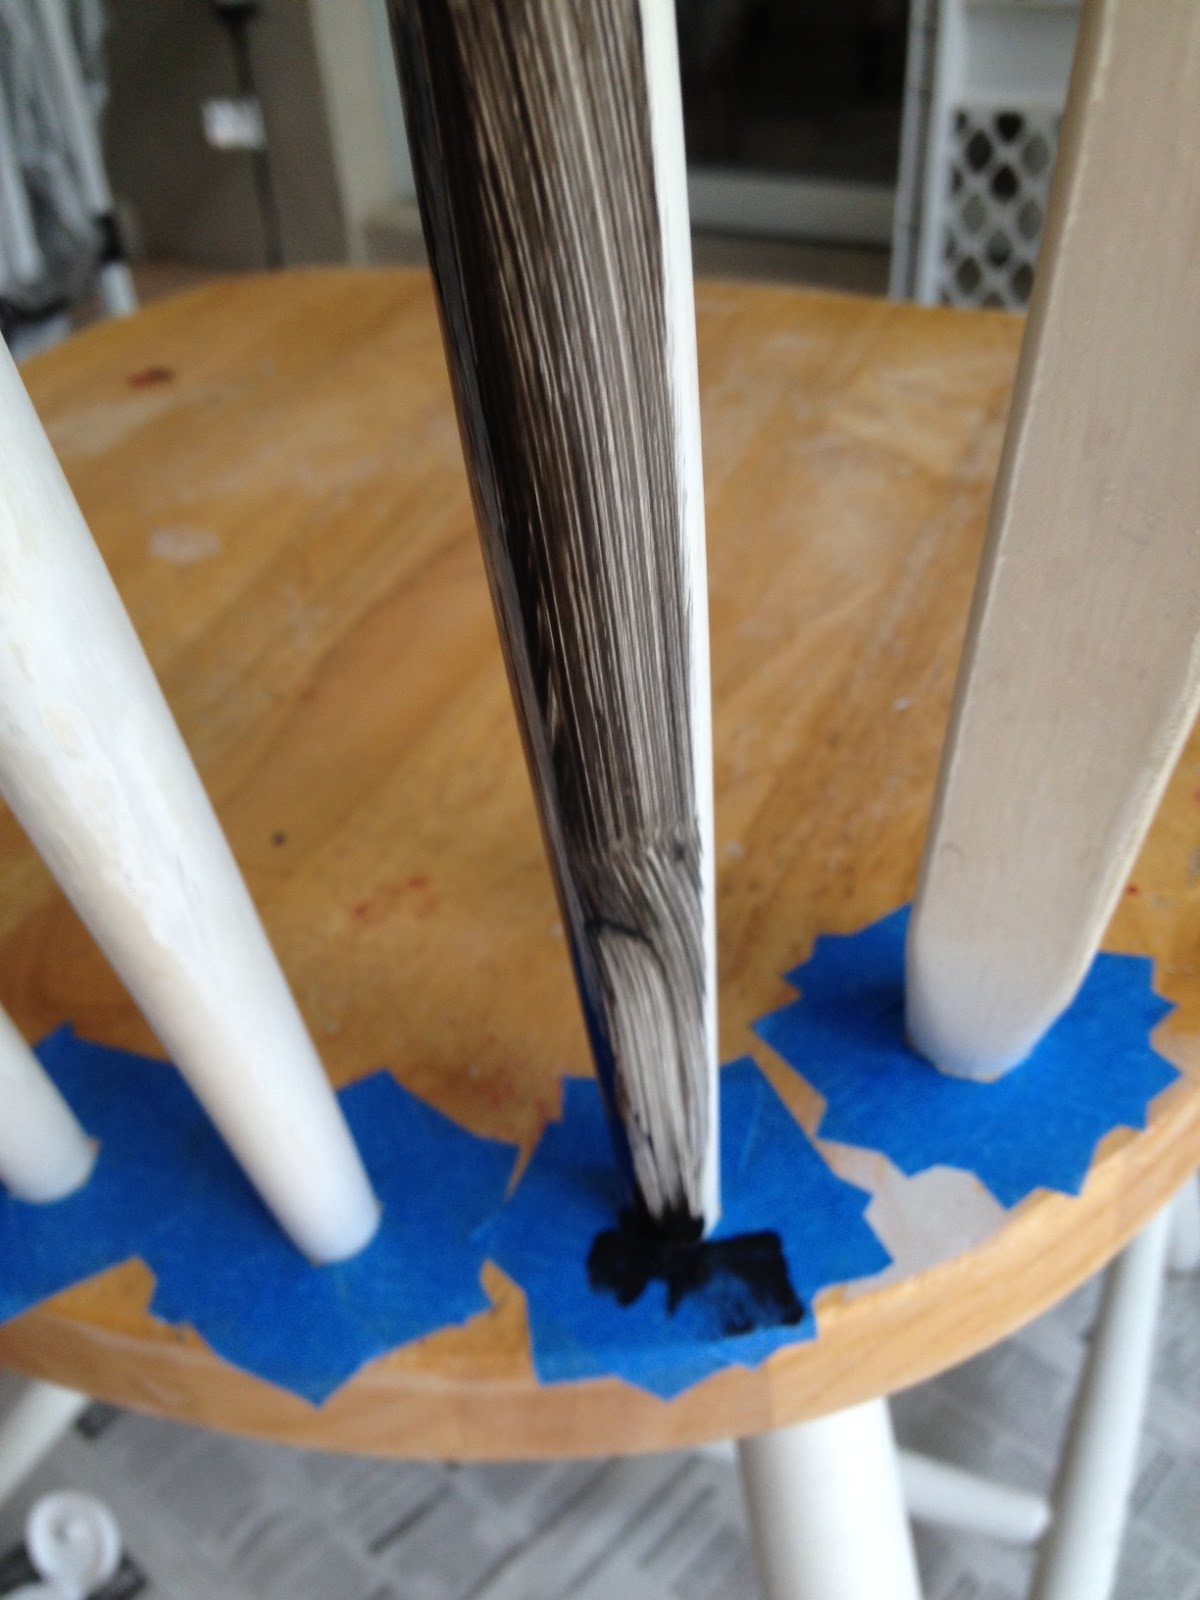
I then taped off the bottom of the rods of the chairback to catch drip. I then painted painted all of the rods in a single, vertical direction.
I let the chairback and legs dry between layers and switched back and forth between horizontal and vertical strokes for each layer. Note: If you do not let the paint dry for as long as it need, it might wear off.
Once the rods were done, I painted the base of my chair solid white, change directs of the strokes with each layer. As you can see in pictures below, I taped off the base of the chairback in the other direction as to avoid getting white paint on the black chairback.
I then used a round bowl as a stencil to draw out where the monogram circle would be.
This is where the pin failed me.
I seriously did not have the patience for the geometric shenanigans of the chevron and after multiple attempts, decided to just go with the classic stripes.
First, I measured out even lengths for the stripes. {Still tedious work for this mathlete.}
I then used painters tape to make the lines even and painted the aqua to be every other stripe.
{During both of these, I made sure to not mark in the circle where the monogram would go.}
Once the stripes were dried, I used the black paint to outline the circle, which cleaned up the edge of the stripes a bit.
I then free-handed the monogram instead of using the stencil suggested. I'm actually pretty decent at drawing out my monogram, so this was the easiest part in my opinion!
No, really, here is my free-handed graduation cap!
{Lavender sparkles and pearl trim for this Sigma Kappa girl!}
I then went to bed and let everything dry over night. And while I was at church the next day.
Finally, to finish it off, I sealed the seat with a few coats of mod podge!
{In retrospect, I totally think a stool would have been easier than a chair, but I had the chair on hand and actually use it, so I am glad I made that choice!}
Time to link up!
Today's Pickins:


.jpg)
.jpg)
.jpg)